Icon Integration
Adding the window sticker icon to your website requires three steps:
Step 1: Get a Vendor ID
Fill out this form to receive your Vendor ID by email.
Your vendor ID is MonroneyLabelsTest
Step 2: Paste the Setup Code
To get started, include this script at the top of your pages:
<script src="//labels-prod.s3.amazonaws.com/icon.js" defer></script>
This code sets up the Javascript object which will test whether a VIN can be fully automatically decoded.
Include this script on every page on your site that will show a window sticker. It should appear at the top of every Vehicle Description Page(VDP) and Search Results Page(SRP).
Step 3: Paste the Window Sticker Code
Paste the following code anywhere a car's information appears:
<span class="monroney-labels" data-year="YEAR" data-make="MAKE" data-vin="VIN" data-vendor-id="VENDOR_ID"></span>
Replace VENDOR_ID with your Vendor ID.
Replace YEAR with the car's year.
Replace MAKE with the car's make.
Replace VIN with the car's VIN number.
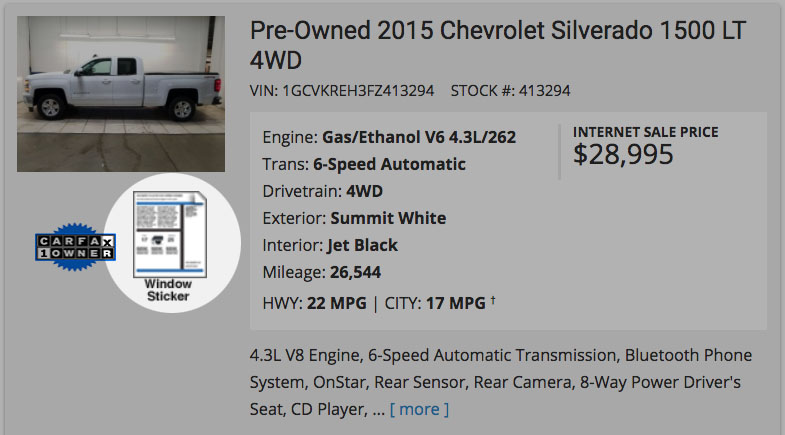
When you're done, it should look like this:
<span class="monroney-labels" data-year="2015" data-make="Chevrolet" data-vin="1GCVKREH3FZ413294" data-vendor-id="MonroneyLabelsTest"></span>
Note: If your page dynamically loads, make sure that the script is called _after_ the span class loads (defer). Otherwise the script may not work properly.
That's all you need to do to make the window sticker icon appear.
Customization (optional)

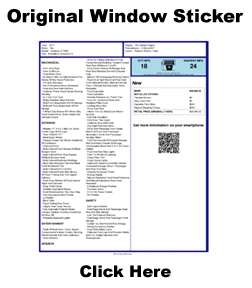
Feel free to use CSS to update the look and feel of the window sticker link. If you want a big window sticker icon like this one, add this code:
      <style>
      .monroney-labels > a {
          background: url(//labels-prod.s3.amazonaws.com/big-sticker.png);
          background-size: contain;
          display: block;
          height: 288px;
          margin: 0 auto;
          padding: 0;
          text-indent: -99999px;
          width: 252px;
      }
      .monroney-labels img {
          display: none !important;
      }
      </style>

